Deploying Your ASP.NET Application to Azure App Service with Visual Studio

Task Details
1. Create an Azure Web App
Set up a new Web App in the Azure portal to host your ASP.NET application. Choose the appropriate runtime stack (.NET Framework v4.8), region, and resource group.
2. Publish ASP.NET Framework 4.8 Code Using Visual Studio
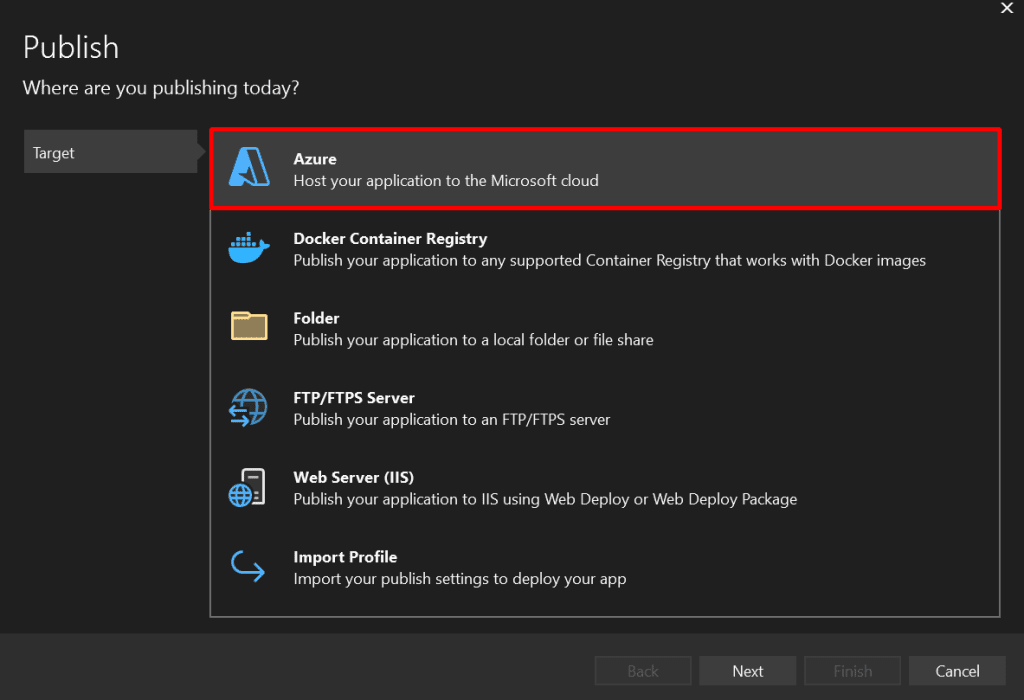
Open your ASP.NET v4.8 project in Visual Studio, then use the Publish feature to deploy your code directly to the Azure Web App you just created. Visual Studio will handle the packaging and deployment process.
3. Test Your Web App
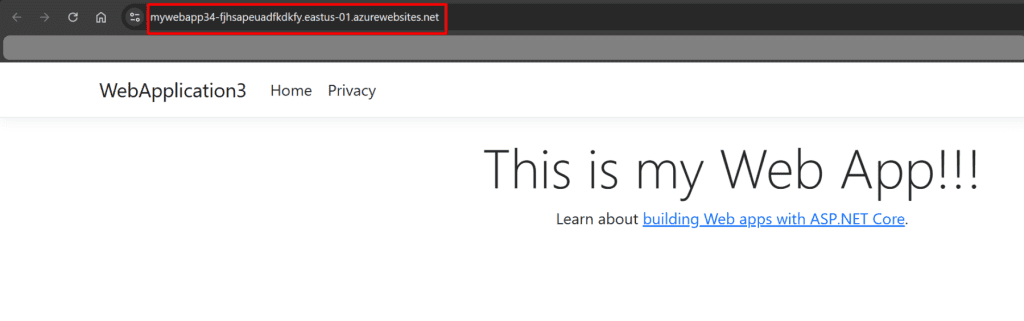
Once deployment is complete, open the Web App URL in your browser to verify that the site loads and functions as expected.
*
Steps
1. Create an Azure Web App.
- In the Azure search bar, type "app service" and select "App Services" from the results.
- On the App Services page, click "+ Create".

- Select Web App: From the dropdown, choose "Web App".

*
2. In the Create Web App section, enter the following values in the Basics tab.
Resource group : Select your resource group
Instance details:
- Name : Enter MyWebapp34
- Publish : Select Code
- Runtime stack : Select ASP.NET V4.8
- Operating system : Select Windows
- Region : Select East US
- Windows plan (East US)

*
3. Click on Next:Deployment , click on Next:Networking, leave all the settings as default.
Note: Network Integration (Networking tab): Allows your web app to securely connect to an Azure Virtual Network (VNet), enabling private access to resources like databases or APIs within the VNet. Configure this during or after app creation to integrate your app with your network.
Next: Monitoring. On the Monitoring tab, disable the Application Insights and then select Review + create and click on Create.
Note: Enabling Application Insights helps you monitor, troubleshoot, and improve your web app more efficiently making it easier to deliver a reliable and high-performing application. You can enable it later when you need it.

*
4. After deployment is complete, click on “Go to resource.” In the App Service settings > Configuration, ensure that both SCM Basic Auth and FTP Basic Auth are set to On. If either setting is disabled, enable it and click the Save button at the top.

*
5. Overview page of your web app, copy the URL given and paste it on your browser. You will see the webapp page displayed.
Note: If you have multiple web apps, it’s recommended to run them under a single App Service Plan, this lets them share resources like CPU and memory, reducing costs. This is ideal when apps have similar performance and scaling needs. You can manage and configure the App Service Plan anytime in the Azure portal under its Overview or Settings.


*
6. Create a sample ASP.NET Web App in Visual Studio and then deploy it directly to the browser using Azure App Service.
Make sure that you have downloaded Visual Studio on your local computer.
Download link: https://visualstudio.microsoft.com/vs/
After the installation, make sure that you select these core components and then click on Modify. The Visual Studio Installer will be modified in a few minutes.

*
7. Open your Visual Studio and click on Create a new project.

*
8. Scroll down for the ASP.NET Core Web App template, then click "Next".

*
9. Give a name to your project then click "Next".

*
10. On the Additional Information page, enter the following details and then click on Create.

*
11. in the solution Explorer tab which is on the right side of Visual studios Select pages and then Select index.cshtml

*
12. On the 8th line change the display message to "This is my Web App" and then click on save.

*
13. You can start and view your web app locally.