Loading...

Azure Quick Links

Azure Cloud Projects

Azure AI services

Securely Build and Deploy Intelligent Azure AI Applications by Integrating Azure Key Vault for Credential and Secret Management

When you create apps that use Azure AI Services (like language or vision APIs), they need keys and endpoints to connect. These are sensitive and should not be hardcoded into your app.

Instead of hardcoding, you can:

  • Use Azure Key Vault to store your keys and secrets safely, and let your app retrieve them at runtime.

How It Works:

  • You store your Azure AI key and endpoint in Key Vault
  • Your app authenticates securely (using DefaultAzureCredential).
  • It retrieves the key from Key Vault at runtime.
  • Then it uses that key to call Azure AI services.

Why Use Azure Key Vault?

  • Protects secrets like API keys, passwords, and endpoints.
  • Controls access using Microsoft Entra ID (Azure AD).
  • Keeps your app more secure and compliant.

Architecture diagram

Task Details

1. Sign in to the Azure Portal
Go to portal.azure.com and log in with your Azure credentials.

2. Create an Azure AI Services Resource
Search for and deploy an Azure AI service (e.g., Language service) in your desired region.

3. Create an Azure Key Vault
Set up a Key Vault to securely store your AI service credentials.

4. Add Secrets to Key Vault
Manually add your AI service key and endpoint as secrets (e.g., AIServiceKey, AIServiceEndpoint).

5. Configure Access Policy
Grant your identity (user or app) permission to read secrets from the Key Vault.

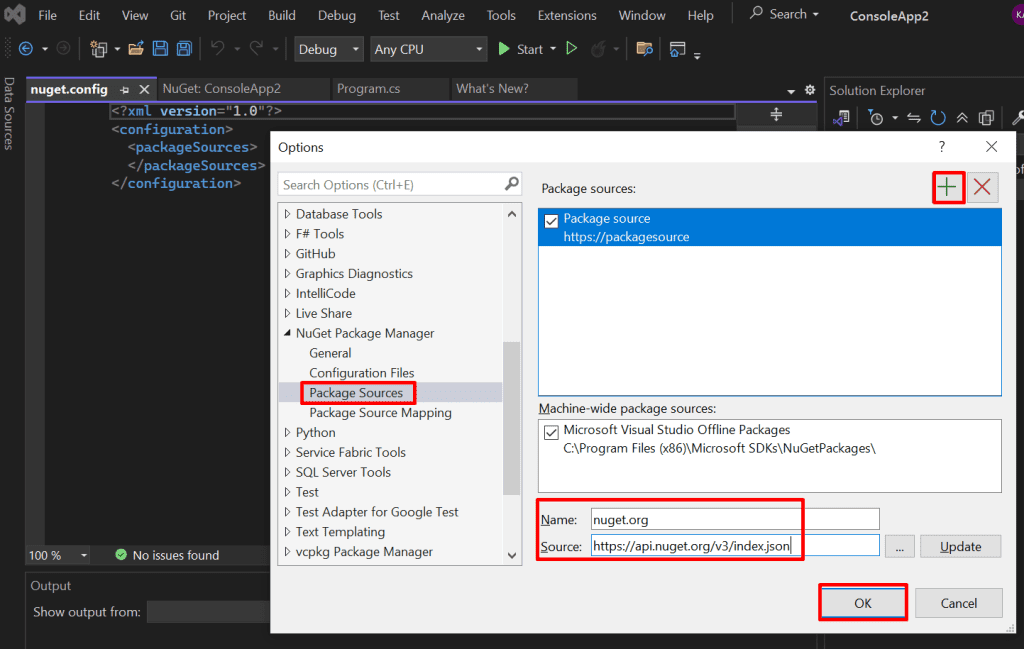
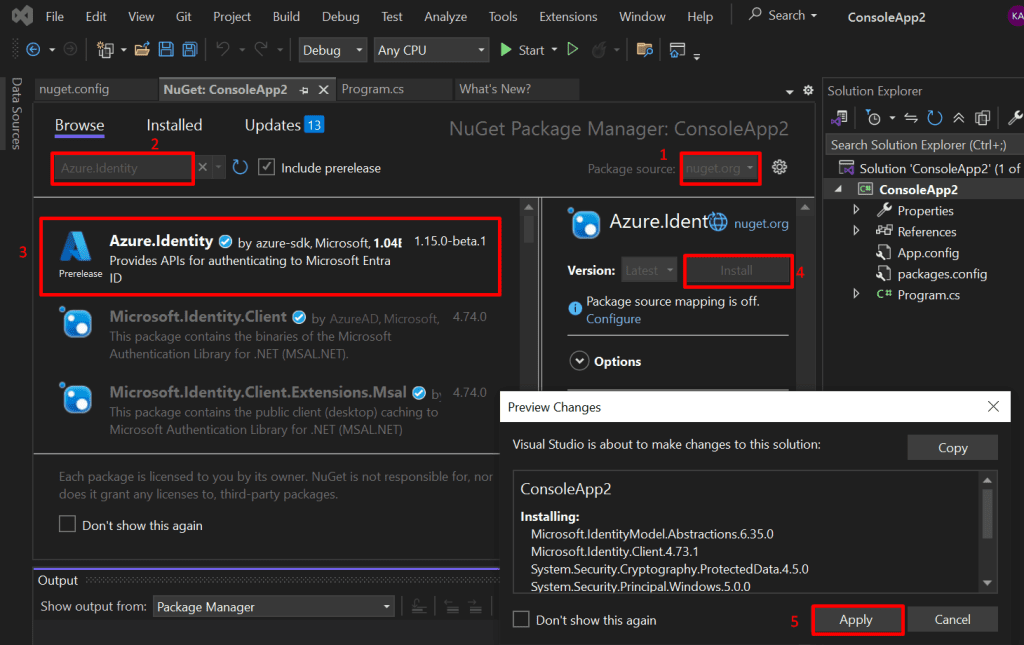
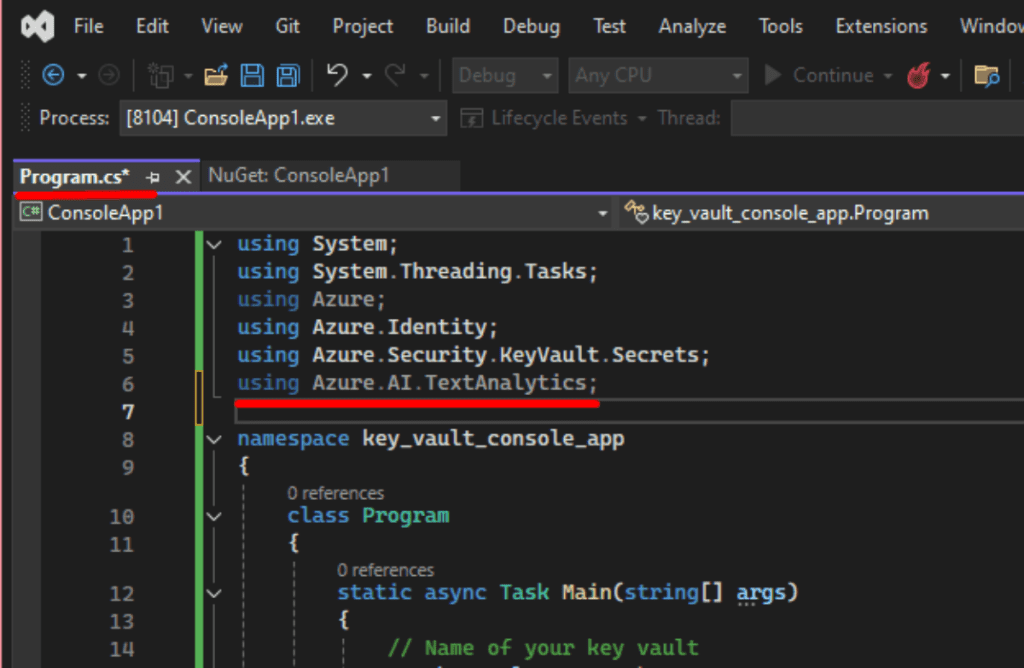
6. Create a C# Console App in Visual Studio
Start a new .NET console project and install the required Azure SDK packages.

7. Call the Azure Language Service
Use the Key Vault secrets to authenticate and send a test request (like NER).

8. Verify the Output
Ensure your app retrieves secrets correctly and returns valid AI results.

*

Steps

1. Create an Azure AI services account.

  • In the Azure portal's search bar, type "ai foundry".
  • From the search results under "Services," click "Azure AI Foundry."

Note: AI Foundry is used to quickly and securely create AI service accounts with pre-configured settings, automation, and compliance—making setup easier and consistent across projects or teams.

*

2. In the Classic AI Services section, select Azure AI Services (multi-service account), then choose Create Azure AI Services (multi-service account).

*

3. Create Azure AI services with the following details, then "Review + create".

Project Details:

  • Select your "Subscription" (e.g., PA).
  • Choose an existing "Resource group" (e.g., rg_eastus) or "Create new".

Instance Details:

  • Select a "Region" (e.g., "East US").
  • Enter a "Name" for your account (e.g., AIaccount).
  • Select a "Pricing tier" (e.g., "Standard S0").

Check the box to acknowledge the terms.

Click the "Review + create" button to proceed with deployment.

*

4. Navigate to your newly created Azure AI Services (multi-service) resource, then copy the key and endpoint for later use.

Service Key: 6u8UG271eqqSHzvL6aGXSRhjobUOgOFwTtItAKK8QZDgX9QdS9CGJQQJ99BGACYeBjFXJ3w3AAAEACOGIb7E

Service endpoint value: https://aiaccount.cognitiveservices.azure.com/

*

5. Create an Azure Key Vault.

  • In the Azure portal's search bar, type "key" (or "key vaults").
  • From the search results under "Services," click "Key vaults."

*

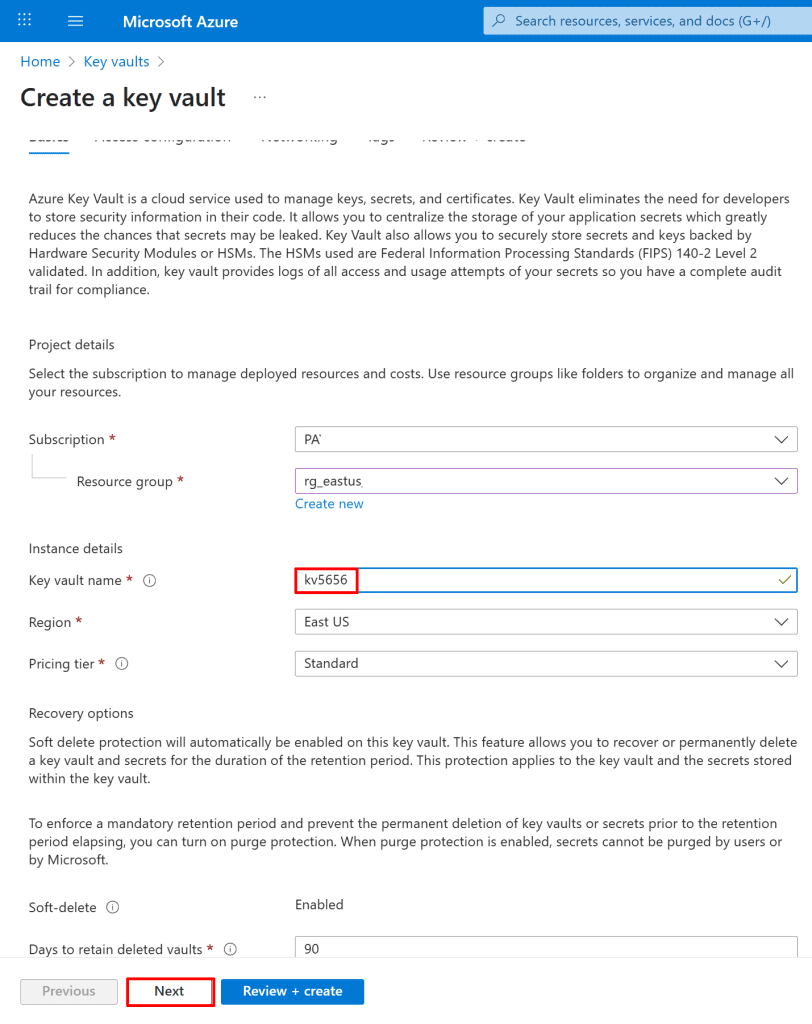
6. Select the following values in the Basics tab, then click next.

Project details:

  • Select your "Subscription" (e.g., PA).
  • Choose an existing "Resource group" (e.g., rg_eastus) or click "Create new".

Instance details:

  • Enter a "Key vault name" (e.g., kv5656).
  • Select a "Region" (e.g., "East US").
  • Choose a "Pricing tier" (e.g., "Standard").

Click Next: Click the "Next" button to proceed.

*

7. On the Access configuration tab, select vault access policy as the permission model and your current user, then "Review + create" and go to resources.

Note: You can also choose "Azure role-based access control" and then assign your user the Key Vault Crypto Officer role, which is responsible for managing cryptographic keys but not secrets or certificates, or the Key Vault Secrets Officer role, which can manage secrets but not keys, or the Key Vault Administrator role, which can fully manage keys, secrets, certificates, and access policies.

*

8. In your Azure Key Vault, create two secrets. One for the Azure AI service key and one for the endpoint URL.

  • In your Azure Key Vault (e.g., kv5656), click "Secrets" under "Objects" in the left-hand menu.
  • Click the "+ Generate/Import" button

*

9. On the "Create a secret" screen in Key Vault, configure the following:

  • Upload options: Select Manual
  • Name: Enter AIServiceKey
  • Secret value: Paste the key you copied from your Azure AI Services resource
  • Other settings: Leave all defaults unchanged

Click Create to save the secret.

*

10. On the "Create a secret" screen in Key Vault, configure the following:

  • Upload options: Select Manual
  • Name: Enter AIServiceEndpoint
  • Secret value: Paste the endpoint URL you copied earlier from your Azure AI Services resource
  • Other settings: Leave all defaults unchanged

Click Create to save the secret.

*

11. You should now have two secrets created in your Key Vault:

AIServiceKey - contains your Azure AI service API key

AIServiceEndpoint - contains your Azure AI service endpoint URL

*

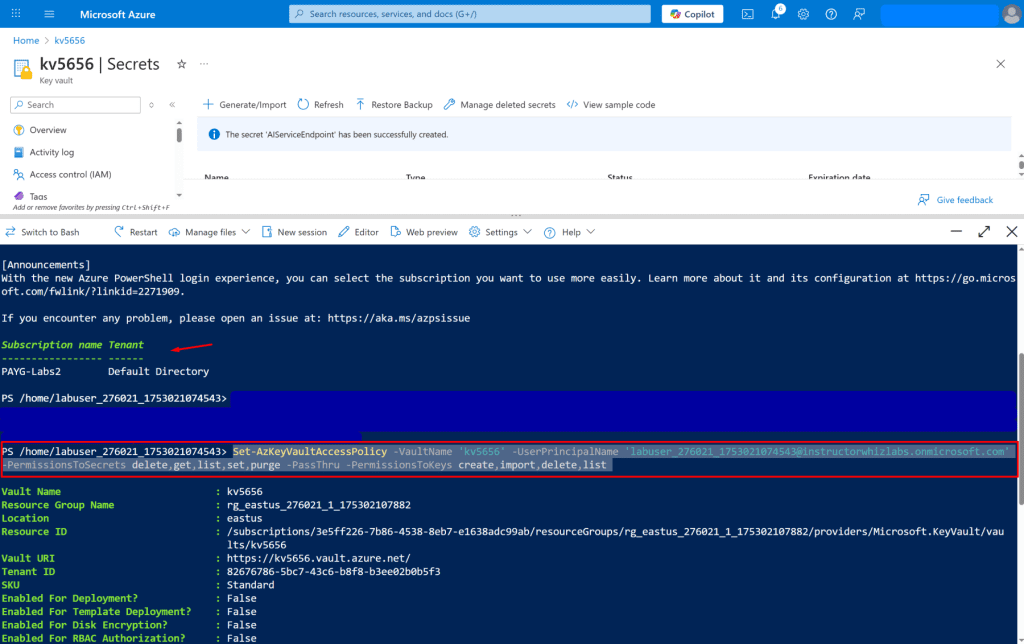
12. Create an access policy for your Key Vault using Azure PowerShell or CLI to allow your application or user to read secrets.

  • Click the Cloud Shell icon (square with _> symbol) in the top right of the Azure portal.
  • In the "Welcome to Azure Cloud Shell" prompt, click "PowerShell".

Note:

  • Azure PowerShell runs in PowerShell
  • Azure CLI can run in Bash, CMD, or PowerShell.

So the distinction is about the tool, not just the shell.

*

13. Select "Mount your storage account", then select the appropriate subscription, and click Apply to proceed.

14. Click “I want to create a storage account,” then enter a unique name and file share name for your new storage account.

*

15. The PowerShell CLI will appear. Authenticate using your Microsoft Entra (Azure AD) username and password by running the following command:

Copy Command: Connect-AzAccount -UseDeviceAuthentication

After running the command, copy the verification code displayed in the terminal and open the provided URL in your browser. Enter the code to complete the sign-in process.

*

16. You will be redirected to a webpage where you must paste the copied verification code and click Next to proceed with the authentication.


*

17. Once the verification is complete, you will be successfully logged in to your Microsoft Entra account.

*

18. Next, create an access policy for your Key Vault to grant your user account permissions to manage secrets and keys. Replace "Your-Key-Vault-Name" with your Key Vault’s name and "user@domain.com" with your Microsoft Entra username, then run the following command:

Copy command: Set-AzKeyVaultAccessPolicy -VaultName 'Key-Vault-Name' -UserPrincipalName 'user@domain.com' -PermissionsToSecrets delete,get,list,set,purge -PassThru -PermissionsToKeys create,import,delete,list

*

19. Open Visual Studio and create a new C# project.

*

20. In Visual Studio, create a new project:

  • Click Create a new project.
  • Search for “.NET Core console app”.
  • From the list, select Console App (.NET Framework).

Click Next to continue.

*

21. On the “Configure your new project” tab, enter your desired project name under Project name, check the box "Place solution and project in the same directory", and then click Create.

*

22. A new “Hello World” project will be created, containing a single C# source file named Program.cs.

*

23. You need to add nuget.org to Package Sources so your project can find and download public .NET libraries during build or restore.

Steps to Add nuget.org to Package Sources:

  • Open Visual Studio.
  • Right-click on your app and choose "Manage NuGet Packages."
  • From the menu, go to Tools → Options.
  • In the Options dialog, expand NuGet Package Manager.
  • Click Package Sources.
  • On the right, click the + button to add a new source.

*

Enter the following details:

Click Update or OK to save the changes.

*

24. Install the required client libraries:

  • In Solution Explorer, right-click your solution and select Manage NuGet Packages for Solution.
  • In the NuGet Package Manager, go to the Browse tab.

Search for each of the following libraries and click Install for each:

Azure.Core

  • In Visual Studio, go to "Tools" > "NuGet Package Manager" > "Manage NuGet Packages for Solution...".
  • Ensure the "Browse" tab is selected.
  • Verify "Package source" is set to "nuget.org".
  • In the search box, type "Azure.Core".
  • Click on "Azure.Core" in the search results.
  • In the right-hand pane, click the "Install" button

*

Azure.Security.KeyVault.Secrets

  • In Visual Studio, go to "Tools" > "NuGet Package Manager" > "Manage NuGet Packages for Solution...".
  • Ensure the "Browse" tab is selected.
  • Verify "Package source" is set to "nuget.org".
  • In the search box, type "Azure.Security.KeyVault.Secrets".
  • Click on "Azure.Core" in the search results.
  • In the right-hand pane, click the "Install" button

*

Azure.Identity

  • In Visual Studio, go to "Tools" > "NuGet Package Manager" > "Manage NuGet Packages for Solution...".
  • Ensure the "Browse" tab is selected.
  • Verify "Package source" is set to "nuget.org".
  • In the search box, type "Azure.Identity".
  • Click on "Azure.Core" in the search results.
  • In the right-hand pane, click the "Install" button

*

25. Click on the Sign In button located at the top-right corner of Visual Studio and log in using your Azure account credentials.

*

26. Open your Program.cs file and replace its contents with the following code.
Be sure to update the placeholders with your actual values:

  • Replace "key-VaultName" with your Azure Key Vault name.
  • Replace "KeySecretName" and "EndpointSecretName" (URL) with the secret names you created in your Key Vault.

Copy code

27. Click on the Build menu and select Build Solution to compile your project.

*

28. Run the application by clicking the Start button at the top of Visual Studio. The program will retrieve your key and endpoint secrets securely from your Key Vault.

*

29. Send a test Language Service call.

In this example, we’ll test Azure’s Language Service by making a Named Entity Recognition (NER) call using the Text Analytics API.
If you're using a multi-service Azure AI resource, you can securely retrieve your key and endpoint from Azure Key Vault and update your app accordingly.

Step 1: Install the Text Analytics Library

  • In Visual Studio, right-click your project in Solution Explorer.
  • Choose Manage NuGet Packages.
  • Go to the Browse tab.
  • Search for Azure.AI.TextAnalytics.
  • Select the package and click Install.

*

30. At the top of your Program.cs file, add the following line:

Copy line: using Azure.AI.TextAnalytics;

*

31. Add the following code sample to your application. 

Copy code

Note: This method connects to Azure AI Language Service (Text Analytics API) and performs Named Entity Recognition (NER) - that means it identifies people, places, organizations, dates, and other named entities in a given sentence.

For example: "Last month, we traveled to New York City for a conference" - This sentence is the input string you're sending to Azure's Text Analytics API to detect those kinds of named entities.

*

32. Add the following line to your Main method to call the EntityRecognitionExample() function, passing in your key and endpoint values:

Copy code: EntityRecognitionExample(keySecret.Value.Value, endpointSecret.Value.Value);

*

33. Build and Run the Application

  • Click on Build → Build Solution.
  • If a popup appears saying "Do you want to stop debugging?", click Yes.
  • Click Start to run the application.

Note: This app connects to Azure Key Vault to securely fetch the API key and endpoint for Azure AI Language Service and then uses that to perform a Named Entity Recognition (NER) operation on a sample sentence.

*

In the above output, it indicates that three named entities were recognized in the sample text "Last month, we traveled to New York City for a conference.":

"Last month" is identified as a DateTime (DateRange) with a confidence score of 1.00, with a length of 10 characters starting at offset 0.

"New York City" is identified as a Location (City) with a confidence score of 1.00, with a length of 13 characters starting at offset 27.

"conference" is identified as an Event with a confidence score of 0.92, with a length of 10 characters starting at offset 47.

*

Conclusion

In production, instead of using a hardcoded sample sentence, you typically want to:

Dynamic input from users or applications

  • Text submitted via a web form or app UI.
  • Emails, chat messages, or customer feedback.
  • Documents uploaded by users (e.g., PDFs, Word files) converted to text.

Batch processing of stored data

  • Analyze large sets of documents, logs, or reports stored in databases or cloud storage.
  • Process text streams from social media or news feeds.

Real-time or event-driven inputs

  • Text coming from IoT devices, monitoring systems, or messaging queues.
  • Chatbot conversations or voice-to-text transcripts.

*

Written by Kirill.A - Azure & Cybersecurity Consultant at AntusNet

➤ Want more? Browse all our Azure implementation guides.

Need help implementing secure Azure solutions?

Contact us for a free consultation.

    error: Content is protected !!