Building a Windows Active Directory Lab with Internet Access.

Task Details
1. Download OS Evaluation ISO Images from Microsoft
2. Create virtual machines using your preferred hypervisor (Hyper-V, VMware, VirtualBox). *
3. Configure static IP addresses for both domain controllers and client machines, and rename each system as required..
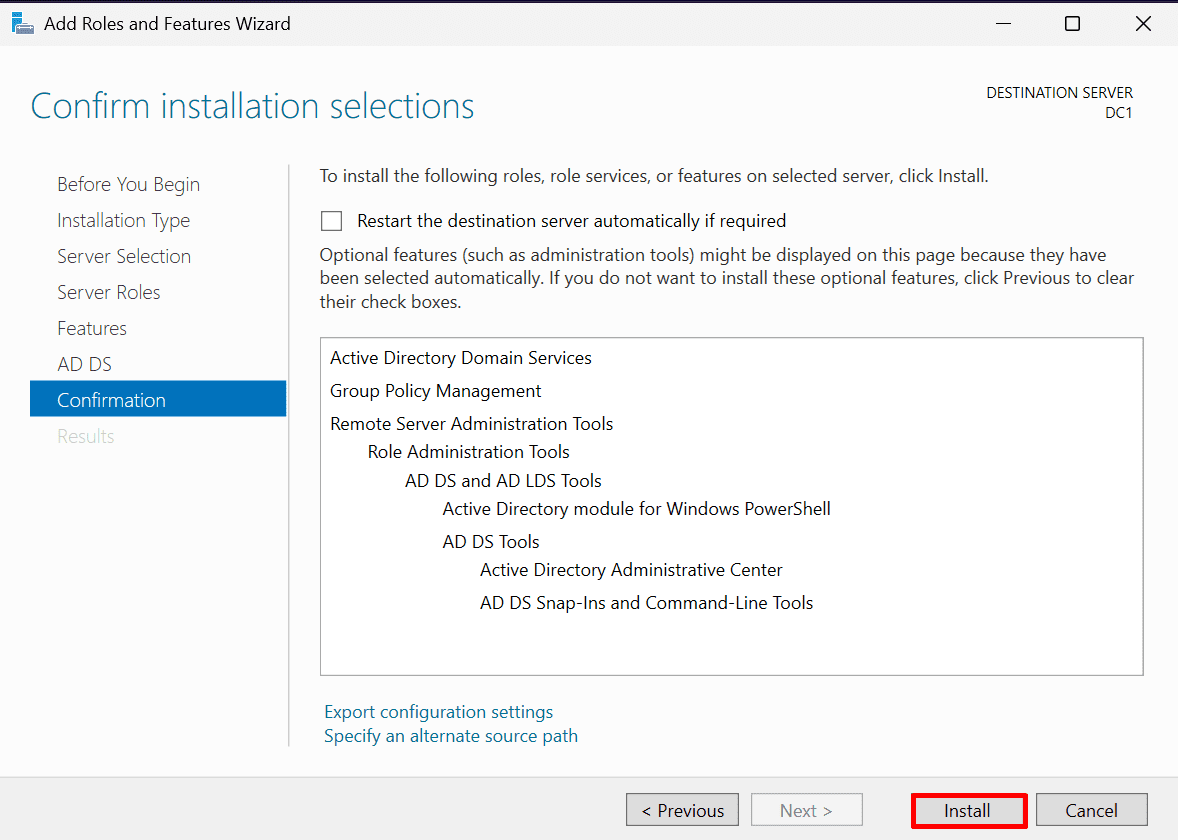
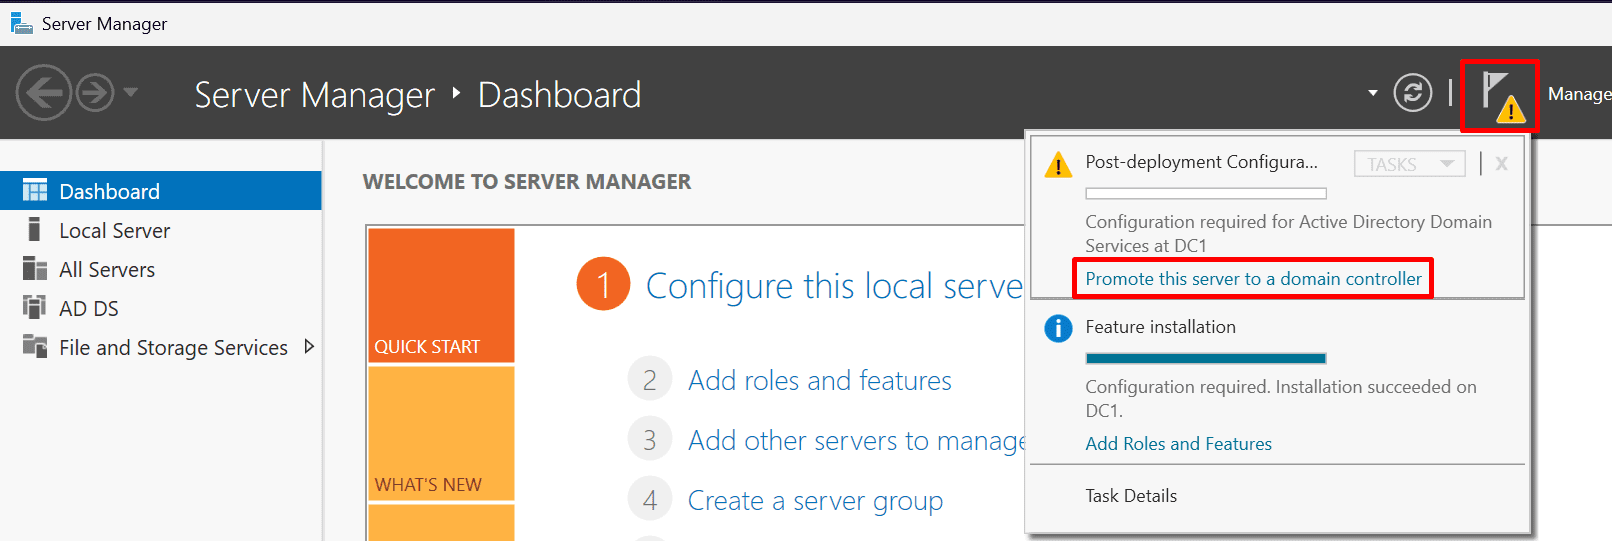
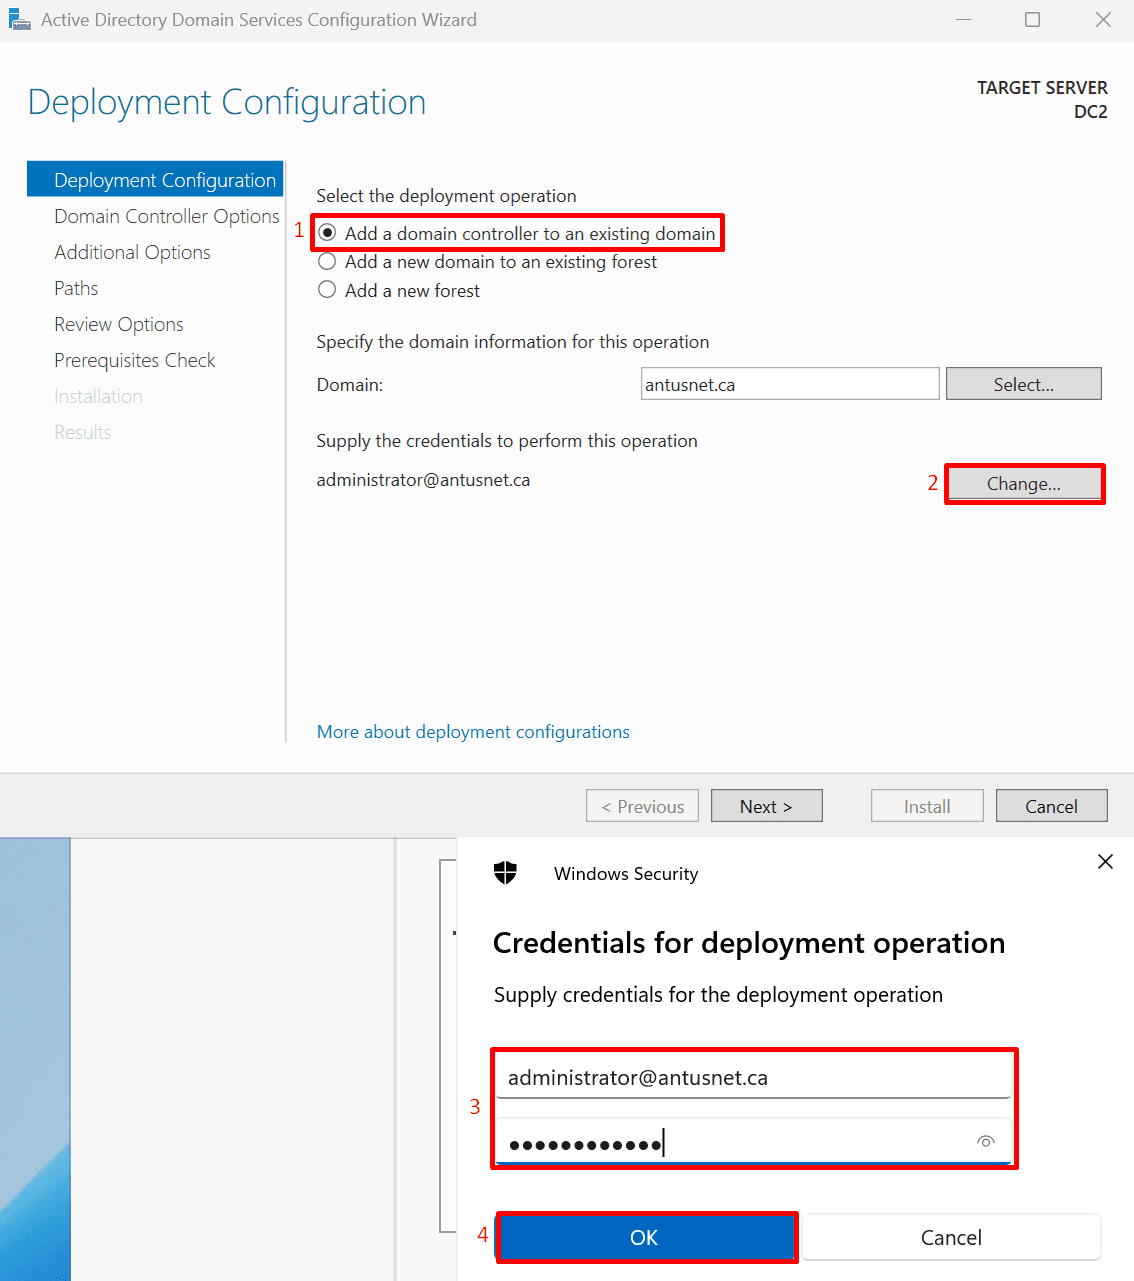
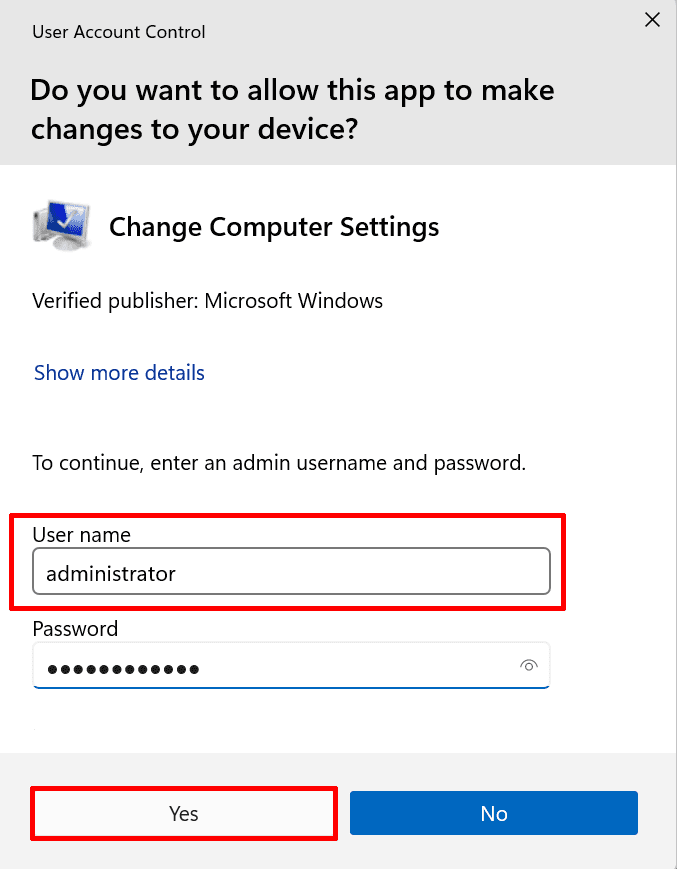
4. Proceed with the Active Directory forest and domain configuration on DC1 and DC2.
5. Join the Windows clients to the domain.
6. Enable internet access in your domain.
*
Lab Setup
This lab simulates a minimal on-premises Active Directory environment required for hybrid Azure and identity security scenarios.
Note: This guide assumes you already know how to create virtual machines using your preferred hypervisor (VMware, Hyper-V, or VirtualBox). VM creation steps are intentionally omitted.
Virtual Machines
- DC1 - Windows Server 2025 - 192.168.37.100
- DC2 - Windows Server 2025 - 192.168.37.101
- Client11 - Windows 11 Enterprise - 192.168.37.102
- Client10 - Windows 10 - 192.168.37.103
*
Steps
Download OS Evaluation ISO Images.
All operating systems used in this lab are available as evaluation ISOs from Microsoft Evaluation Center.

*
Required Downloads:
- Windows Server 2025 (Evaluation)
- Windows 11 Enterprise
- Windows 10 Enterprise
*
Create virtual machines using your preferred hypervisor (Hyper-V, VMware, VirtualBox).
This guide assumes you already know how to create virtual machines using your preferred hypervisor (VMware, Hyper-V, or VirtualBox). VM creation steps are intentionally omitted.
*
Configure static IP addresses for both domain controllers and client machines, and rename each system as required.
Static IP addresses are required for domain controllers to ensure stable DNS resolution, reliable authentication, and consistent Active Directory replication.
Note: In VMware, use NAT networking for all virtual machines. NAT provides internet access for updates and downloads while keeping the lab environment isolated from the physical network, preventing IP conflicts and unintended exposure.
DC1 - Windows Server 2025 - 192.168.37.100
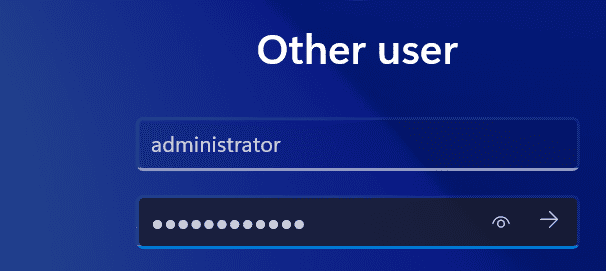
1. Log in as administrator or as a user with administrative privileges.

*
2. Assign static IP.
Note: Your IP range and subnet may differ. In this guide, the subnet used is 192.168.37.0/24. VMware will configure the network automatically, but you should verify and assign static IP addresses to each VM as required for the lab.
Go to Settings → Network & Internet → Ethernet and edit the IP setting as follows and click "save."
- IP address: 192.168.37.100
- Subnet mask: 255.255.255.0
- Gateway: 192.168.37.2
- Preferred DNS: 192.168.37.100 (or 127.0.0.0)
Note: Use the ipconfig /all command to determine the default gateway IP provided by VMware.

*
3. Rename the system to DC1.
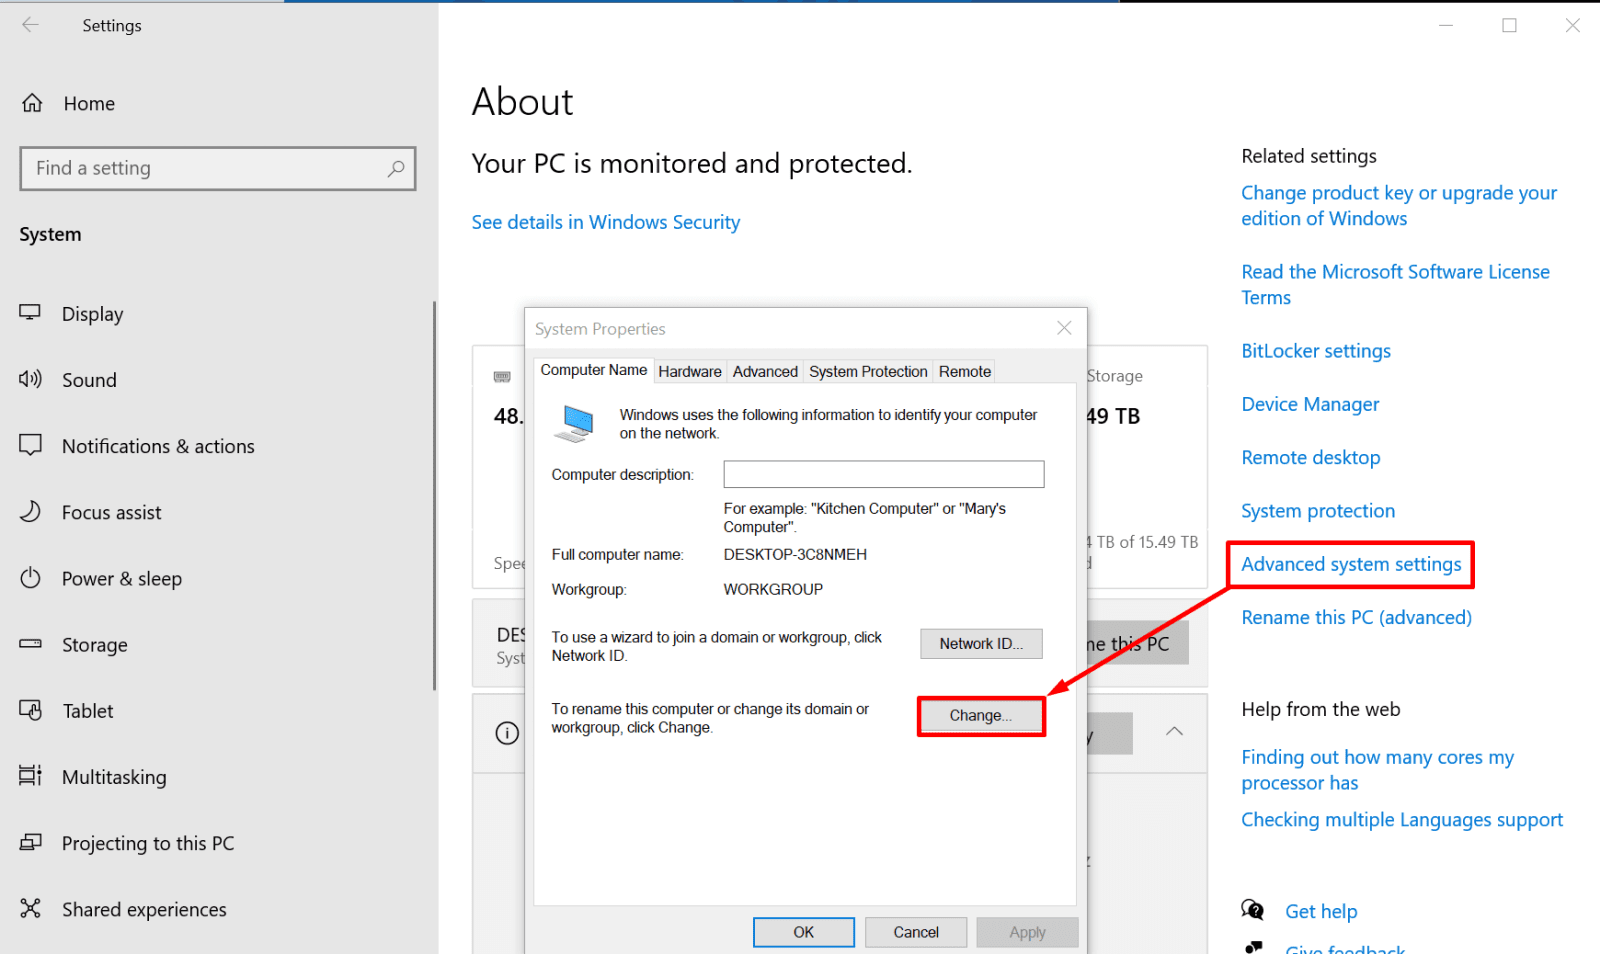
Go to Settings → System → About → Rename this PC
Note: A restart is required after renaming each system.

*
4. After the restart, confirm that the changes have been applied.

*
DC2 - Windows Server 2025 - 192.168.37.101
1. Log in as administrator or as a user with administrative privileges.
*
2. Assign static IP.
Go to Settings → Network & Internet → Ethernet and edit the IP setting as follows and click "save."
- IP address: 192.168.37.101
- Subnet mask: 255.255.255.0
- Gateway: 192.168.37.2
- Preferred DNS: 192.168.37.100 (IP of DC1)

*
3. Rename the system to DC2.
Go to Settings → System → About → Rename this PC
Note: A restart is required after renaming each system.

*
4. After the restart, confirm that the changes have been applied.

*
Client11 - Windows 11 Enterprise - 192.168.37.102
1. Log in as administrator or as a user with administrative privileges.

*
2. Assign static IP.
Go to Settings → Network & Internet → Ethernet and edit the IP setting as follows and click "save."
- IP address: 192.168.37.102
- Subnet mask: 255.255.255.0
- Gateway: 192.168.37.2
- Preferred DNS: 192.168.37.100 (IP of DC1)

*
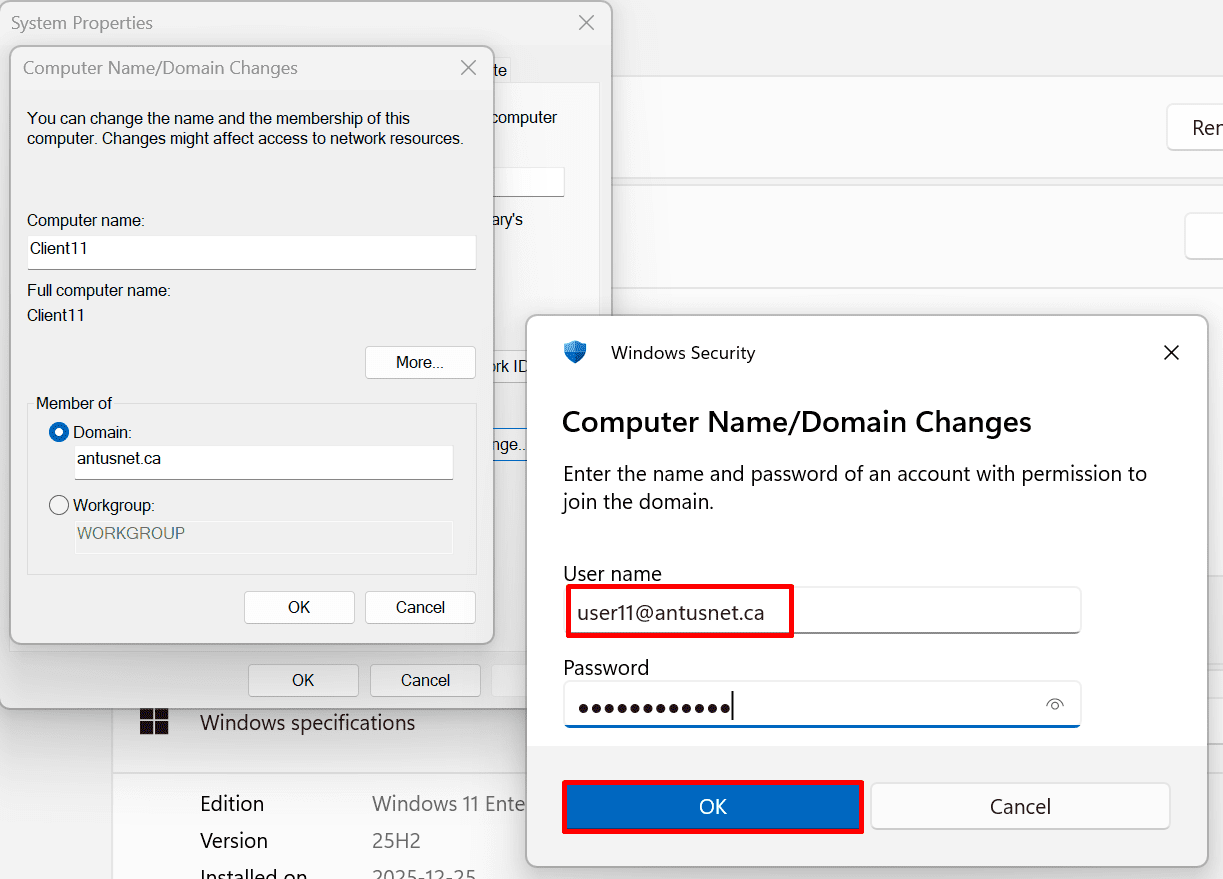
3. Rename the system to Client11.
Go to Settings → System → About → Rename this PC
Note: A restart is required after renaming each system.

*
4. After the restart, confirm that the changes have been applied.